Table of Contents
![]()
Introduction
I recently switched from using Disqus comment system to Commento. The reason is that I am in favor of a non-tracking and lightweight system which Commento satisfies. This note will go over the steps to host Commento using Apache webserver.
Prerequisites
A few things you will need:
- A server. If you have not got one, I recommended using Digital Ocean. A $5 droplet is sufficient.
- A domain which has an A record pointing your domain to your server’s IP. For example, I have an A record that points my subdomain
commentoto my server’s IP so Commento is available on https://commento.jasonthai.me
When you create a VPS, you will be asked which OS to install. I chose to use Ubuntu 18.04 as there are a lot of tutorials online for Ubuntu to help you get started.
Setting up Commento
Install Apache2
Follow this tutorial on Digital Ocean to help you get started setting up Apache. It contains all the necessary information to help you install Apache.
Install PostgreSQL
Follow this tutorial to install PostgreSQL on your VPS
I chose to create a new user commento and database commento so that I can use it later.
To allow the new user to access the database without any password, I made the following change to /etc/postgresql/10/main/pg_hba.conf:
# TYPE  DATABASE        USER            ADDRESS                 METHOD

# "local" is for Unix domain socket connections only
local   all             all                                     trust <- by default it is ident which required password input
I also made the following change to /etc/postgresql/10/main/postgresql.conf:
// uncommented
listen_addresses = 'localhost'        # what IP address(es) to listen on;
This is to allow using localhost as the default host for connecting to postgres database on the server.
Installing Commento
The manual way
In the following section, I use commento.jasonthai.me as my subdomain to host Commento, you can just replace it with whatever domain you will be using
Enter the following commands:
wget https://commento-release.s3.amazonaws.com/commento-linux-amd64-v1.7.0.tar.gzmkdir /usr/share/commentotar xvf commento-linux-amd64-v1.7.0.tar.gz -C /usr/share/commento
Note: you can find the latest release here https://docs.commento.io/getting-started/self-hosting/releases.html
- Create a new file
/etc/systemd/system/commento.service:
[Unit]
Description=Commento daemon service
After=network.target postgresql.service

[Service]
Type=simple
ExecStart=/usr/bin/commento
Environment=COMMENTO_ORIGIN=https://commento.jasonthai.me
Environment=COMMENTO_PORT=8080
Environment=COMMENTO_POSTGRES=postgres://commento@localhost:5432/commento?sslmode=disable
Environment=COMMENTO_STATIC=/usr/share/commento
Environment=COMMENTO_FORBID_NEW_OWNERS=true

Environment=COMMENTO_SMTP_HOST=ENTER YOUR VALUE HERE
Environment=COMMENTO_SMTP_PORT=ENTER YOUR VALUE HERE
Environment=COMMENTO_SMTP_USERNAME=ENTER YOUR VALUE HERE
Environment=COMMENTO_SMTP_PASSWORD=ENTER YOUR VALUE HERE
Environment=COMMENTO_SMTP_FROM_ADDRESS=no-reply@commento.io

# Set Google OAuth credentials
Environment=COMMENTO_GOOGLE_KEY=
Environment=COMMENTO_GOOGLE_SECRET=

# Set Github OAuth credentials
Environment=COMMENTO_GITHUB_KEY=
Environment=COMMENTO_GITHUB_SECRET=

# Set Twitter OAuth credentials
Environment=COMMENTO_TWITTER_KEY=
Environment=COMMENTO_TWITTER_SECRET=
[Install]
WantedBy=multi-user.target
Run systemctl start commento to start Commento service.
Run systemctl enable commento to enable Commento as a background service.
Run systemctl status commento to check the status of Commento.
The docker way
Pull the image:
$ docker pull registry.gitlab.com/commento/commento
Start the container:
$ docker run -it                                                            \
    -p 8080:8080                                                            \
    -e COMMENTO_ORIGIN=https://commento.jasonthai.me                        \
    -e COMMENTO_POSTGRES=postgres://commento@172.17.0.1:5432/commento       \
    --network="bridge"                                                      \
    registry.gitlab.com/commento/commento
Note: you will have to configure postgres same as the manual way. 172.17.0.1 is the IP address of docker0 proto
The docker compose way
Create docker-compose.yml file with following contents:
version: '3'

services:
  server:
    image: registry.gitlab.com/commento/commento
    ports:
      - 8080:8080
    environment:
      COMMENTO_ORIGIN: https://commento.jasonthai.me
      COMMENTO_PORT: 8080
      COMMENTO_POSTGRES: postgres://postgres:postgres@db:5432/commento?sslmode=disable
      COMMENTO_SMTP_HOST: ENTER YOUR VALUE HERE
      COMMENTO_SMTP_PORT: 587
      COMMENTO_SMTP_USERNAME: ENTER YOUR VALUE HERE
      COMMENTO_SMTP_PASSWORD: ENTER YOUR VALUE HERE
      COMMENTO_SMTP_FROM_ADDRESS: ENTER YOUR VALUE HERE
      COMMENTO_GOOGLE_KEY:
      COMMENTO_GOOGLE_SECRET:
      COMMENTO_GITHUB_KEY:
      COMMENTO_GITHUB_SECRET:
      COMMENTO_FORBID_NEW_OWNERS: "false"
    depends_on:
      - db
    restart: always
  db:
    image: postgres
    environment:
      POSTGRES_DB: commento
      POSTGRES_USER: postgres
      POSTGRES_PASSWORD: postgres
    restart: always
    volumes:
      - /opt/commento/database:/var/lib/postgresql/data
Run docker-compose up -d
Apache Config
In the following section, I use commento.jasonthai.me as my subdomain to host Commento, you can just replace the it with whatever domain you will be using.
Create a new file /etc/apache2/sites-available/commento.jasonthai.me.conf:
<VirtualHost *:80>
    ServerAdmin webmaster@localhost
    ServerName commento.jasonthai.me
    ServerAlias commento.jasonthai.me
    DocumentRoot /usr/share/commento

    ProxyPreserveHost On
    ProxyPass / http://127.0.0.1:8080/
    ProxyPassReverse / http://127.0.0.1:8080/
</VirtualHost>
Note: the above conf assumes you are not using any TLS/SSL certificates and we are exposing Commento through port 80 which is the default port you can access from your browser. If you choose to enable HTTPS for commento, follow this tutorial to enable HTTPS on your server. This will greatly enhance the security of your Commento service.
After running Letsencrypt certbot, the apache config will look something like this instead:
<VirtualHost *:80>
RewriteEngine on
RewriteCond %{SERVER_NAME} =commento.jasonthai.me
RewriteRule ^ https://%{SERVER_NAME}%{REQUEST_URI} [END,NE,R=permanent]
</VirtualHost>

<VirtualHost *:443>
    ServerAdmin webmaster@localhost
    ServerName commento.jasonthai.me
    ServerAlias commento.jasonthai.me
    DocumentRoot /usr/share/commento

    ProxyPreserveHost On
    ProxyPass / http://127.0.0.1:8080/
    ProxyPassReverse / http://127.0.0.1:8080/

    ErrorLog ${APACHE_LOG_DIR}/error.log
    CustomLog ${APACHE_LOG_DIR}/access.log combined
SSLCertificateFile /etc/letsencrypt/live/commento.jasonthai.me/fullchain.pem
SSLCertificateKeyFile /etc/letsencrypt/live/commento.jasonthai.me/privkey.pem
Include /etc/letsencrypt/options-ssl-apache.conf
</VirtualHost>
After setting everything up, you can go to the domain that you set up to access Commento. If it works, you’ll be greeted with something like this: 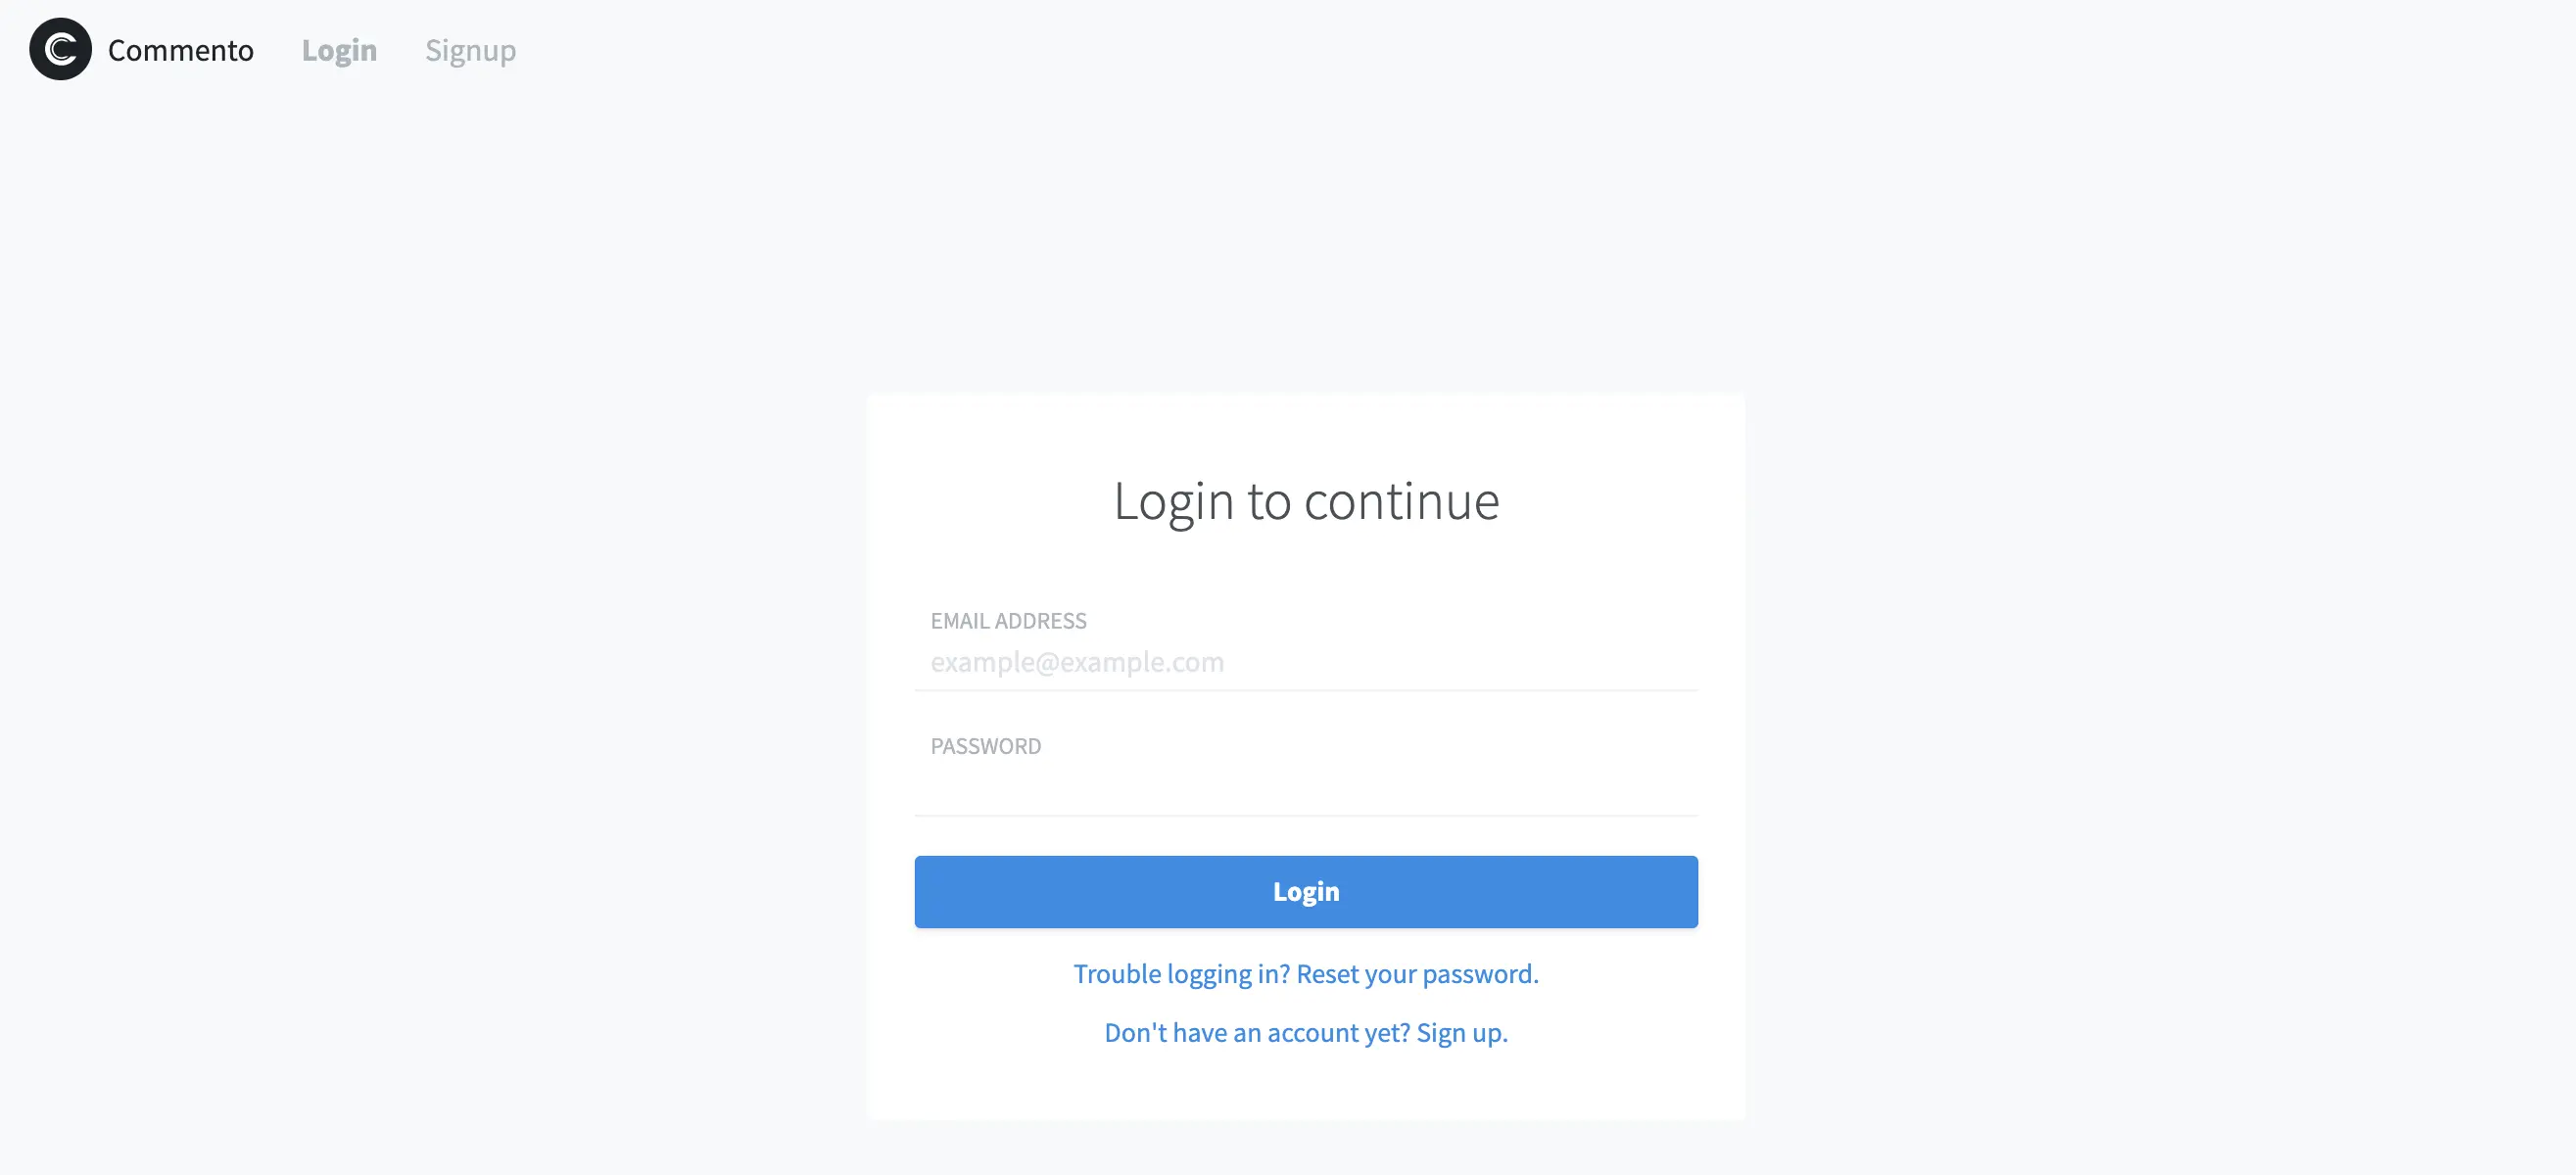
Adding Commento to Your Site
Put this to where you want the comments to show up:
<div id="commento"></div>
<script defer src="https://YOUR-DOMAIN-HERE/js/commento.js">
</script>
You should be seeing something similar to my site if everything works correctly.